Showing posts with label hands. Show all posts

Crochet Finger puppets: Girl and Cat

finger puppets

I've made these for my daughter's birthday. This is my own design, and I tried to write down the pattern as I was working on them, so I could make more puppets later. And so I could share with you, of course. :-)

Here's the pattern. I've never wrote a pattern before, so I hope it makes sense. Let me know if you have any questions. 
View the pattern

Hope you like them.
You can't post it, reproduce or sell the pattern without my permission; you can't use it to make toys for sale. Thank you.


Calendar _September 2011

Here's the new fill-in calendar:
September 2011

Happy Back-to-school OR NOT-back-to-school, everyone.

We'll be homeschooling. Wish us luck! :-)

Chopsticks

When we were on vacation in San Diego earlier this month, we bought a pair of kids' chopsticks. They have special rings for the fingers, teaching kids the correct way to hold chopsticks. They come in Left or Right handed versions. Our daughter loves them. She tries to eat everything with them.

And it is supposed to be good for her small motor skills. ;-)

So, if you've ever seen kids chopsticks and wondered is they really work - they do.

Classic "practical life" activity


Our today's practical life activity was made possible by generous donation by Daddy. His old shirt's sleeves were cut into squares that we used for this classic two-part activity. First, we fringed the edges; Then we sew on some buttons.

These are self-explanatory, and you might still remember doing this in elementary school, so, I'll just write some tips.

- use woven fabric with low thread count. It will be more difficult to fringe the edges of the sateen vs linen, e.g.
- use embroidery hoop to support the fabric when sewing on buttons.
- use blunt end needle, like the ones that are used by knitters.
- start with the buttons that have 2 holes.
Draw the diagram for the 4-hole buttons combinations and help the child figure out the directions.

- to modify the activity for younger kids:
make buttons from heavy cardstock (cut the circles and use a hole-punch to make the holes) and use a sheet of plastic canvas for the fabric. Use thin shoe laces or a plastic needle with yarn to sew.

Cutting.


This is a simple "Practical Life" activity.
All you need is a letter opener and some envelopes (check your junk mail). First, glue them shut. Or have your child licking the glue strips - it's fun. Then cut them open. We only had a few enveloped today, so we had to cut the paper instead. It worked well, too.

thrifty Holidays 101: garland

Gingerbread men garland from mailing paper
This was my favorite cutting activity when I was in kindergarten. You can say, that I was abscessed with folding the paper, drawing 1/2 silhouettes and cutting them, unfolding to see what I've got.

It's super easy. If you woke up and remembered that you were in charge of classroom decorations, and the party is today - you can still make it! Here's how to.

1) Find a piece of paper that's as long as you want your garland to be. Note, that if your garland is longer that 10 Gingerbread men, it might be too difficult to cut through that many layers of paper.  
2) Decide how wide you want your design to be. 
3) Fold the paper back and forth like accordion (fan fold). Draw your design on the top layer. You can either draw the whole Gingerbread man or just a 1/2 of it.  Make sure their hands are touching at the folded edge. If you're making a very long garland, you can make a wider folds and draw 2 men, or Gingerbread man and a Snowman.
4) Cut out your garland, being sure not to cut the fold lines under the hands.
5) Open up the garland. 
6) Iron it with a hot iron with steam turned off.
7) For extra credit, decorate the Gingerbread men. 

Very easy holiday cards

Here are two simple ideas for Holiday cards your 3-5 yo can make with minimum help. Another hidden benefit of kid-made card is that they are so cute you don't have to write a message! A simple "Happy New Year" scribbled by your preschooler is more than enough.


Draw (or have your child draw) a simple tree shape (a triangle over a small rectangle).

Cut construction paper (scraps left over from some other project are perfect) into tiny pieces, the smaller the better.

Starting at the bottom of the tree, apply glue row by row, put the paper pieces on, apply more glue, keep going until you're done.

Draw a tree-topper or make one from paper pieces.

Scribble a short note inside the card (write it on a piece of paper so your child could copy it).

Make as many cards as you need. Mail them to friends and family.


And here are the cards we made last year (with almost-4-yo.).

Scribble a snowman (or a Xmas tree). Use the stick-on foam mosaic pieces to decorate it.

December calendar template

Wow, is it December already!? Where did the year go?

If you came here looking for a calendar templates, this is your lucky day. Lots of snowflakes.
I promise to put some easy ideas for Holiday cards. We're working on them now.


Fill-in calendar December 2010

November calendar template

Here's the link to November template. Enjoy!


November 2010 fill-in calendar

Proper pencil grip in 3 easy steps

Teaching a child to hold a pencil correctly is important, and since you've landed here, you probably know that. This is the easiest way I've found so far. I did not invent it, I saw it in a japanese activity book for kids. Below are the pictures of me demonstrating the 3 easy steps. It works equally will for lefties.


If you're looking for more handwriting tools, I recommend checking out Handwriting without tears workbooks or for smaller kids getting one of the Grasshopper kits. Check out my earlier post on them here: "getting small hands ready for school".

Coloring skills evolution

I've just noticed this, and I wanted to share. I was sorting out the pictures that my daughter made over the last couple of years and I could clearly see that there were several different phases of coloring skills development. This is based just on my observations of my own child. She never had art lessons.

1) If you give a coloring book to a toddler, he'll be doodling on it as if the list is blank. The fact that the crayon leaves a colored line is too fascinating for a child and he is too occupied trying to figure it out so he does not notice the image on the paper, he would not care to color it.

2) The child notices the image, and uses the crayon to color it. But he is not coloring, he's examine the image, points to the parts that interest him, and the crayon colors them. For example, the child first notes the face, doodles on it, when goes on to a next face/object that interests him on the picture (if any) or proceeds to the next picture. He can make as little as a few strokes.

3) The child colors the whole image with the crayon just to cover it, he is not even trying to stay in lines. Covered = Colored.

4) The child colors the image area by area, trying to stay in lines if possible, BUT forgets to change the crayon OR changes the color but just because he's tired of yellow and he wants blue now, not because the scene needs it. So the end result may be very similar to the stage (3) unless you can see the strokes or watch the process. The child will most often color only the main object of the scene or the one that interest him the most, leaving the rest of the page blank. (image on the left = 3.5 yo)

5) The child colors the image using different colors, thoughtfully assigning the color to a specific area. The colors are not always true to life (the clouds can be orange, and the trees purple). The child soon learns to use the yellow crayon to color all the areas that need to be yellow before putting it down and taking another one. He is likely to color the whole scene not just the main object. (image on the left = 4 yo)

6) The child may add his own details to fill up the blank page, such as a sky, clouds, sun, grass, etc. He makes the coloring book page look more like a free-hand artwork. (image on the left = 4.5 yo)

7) The child tries to make colors true-to-life. I don't think that, unless the child is taught so, he'll ever attempt to make images look 3 dimensional (by adding shades, shadows, using mixed colors -like different shades of yellow, red and brown to color a leaf).

Do you pay attention to how your kids color/draw? I would like to hear what other people think about my theory. I'm sure that professionals like OTs and art teachers can explain why exactly the child does what he does. And I know that the key answers will be concentration skills and hand skills (strength and endurance). This is fascinating to me nevertheless.

Propellers

Flying PropellersWe went to a science museum this weekend, and we bought a simple toy at the gift shop. It basically is a propeller on a stick. To launch it (note that the propeller stays ON the stick, it does not fly off), hold the stick between the palms of your hands. Quickly slide your right hand forward while keeping it pressed against the left hand.

Aside from being a fun toy to watch flying or to try to catch, it is a good practice for hand-eye coordination. You can buy it on Amazon.

Printable calendar template

It's May, and it's time for a new calendar. We have a little tradition: we print out a monthly calendar, our daughter draws a picture and writes in the numbers. Then we put it on the fridge, and every day she makes sure to move a magnet to the right date. You can read more about it in the earlier post.

You can see that I wrote some of the dates, this is what is called "control of error", it allows a child to do the work independently (fill in the blanks), and to be able to check whether or not the numbers are in order. Depending on where your child is, you can write in as many numbers as needed. Filling in the blank spaces with flowers also gives a child a signal that they need to stop. You know that a 4yo will keep writing 32-33-34-etc. until she runs out of paper.

If you'd like, you can download my template to use at home. I'm not sure how I can "attach" a pdf, so the template is in jpg for now.

Making a Lid-Bot.

Hello.
We've had a family craft time this week. We made a Lid-bot, which is a robot, made from lids.

We'd been waiting to do this project for a long time, since it took a while to collect a basket full of lids and caps. The original inspiration came from Lidmen. Actually, I wanted to make a puppet, but the assembly of the robot took longer than expected, and it was too much for kiddo.

All you need is:
-bunch of caps/lids, big and small
-thread
-drill

Learning from our first try, I would recommend pre-drilling the lids before calling your child over. Let your child design a lid-bot by laying the pieces on the table (or rug). It also helps to take a picture of the layout before you start the assembly, this way if it gets messed up or you get interrupted, you'll still remember what the original plan was.  Once you pre-drill the holes, your child can help you thread the lids on to the strings. You can also use permanent markers to draw a face or decorations on your 'bot. You can even spray paint the whole thing, if you like.


These are the pictures of the 'bots layout we tried. This was the kiddo's favorite part! Most of our lids are from soda/juice/water bottles, the larger ones are from the spices, deodorant, shaving cream, the girl bot's skirt is from the laundry detergent; we also used straws from old sippy cups for making limbs and inside the lidbot's chest to connect his stomach to his neck.

Overall, it's a fun family project, that costs nothing. The design possibilities are endless. But you WILL get addicted to lid collecting. 


Happy crafting!

(photos by Mamalya)

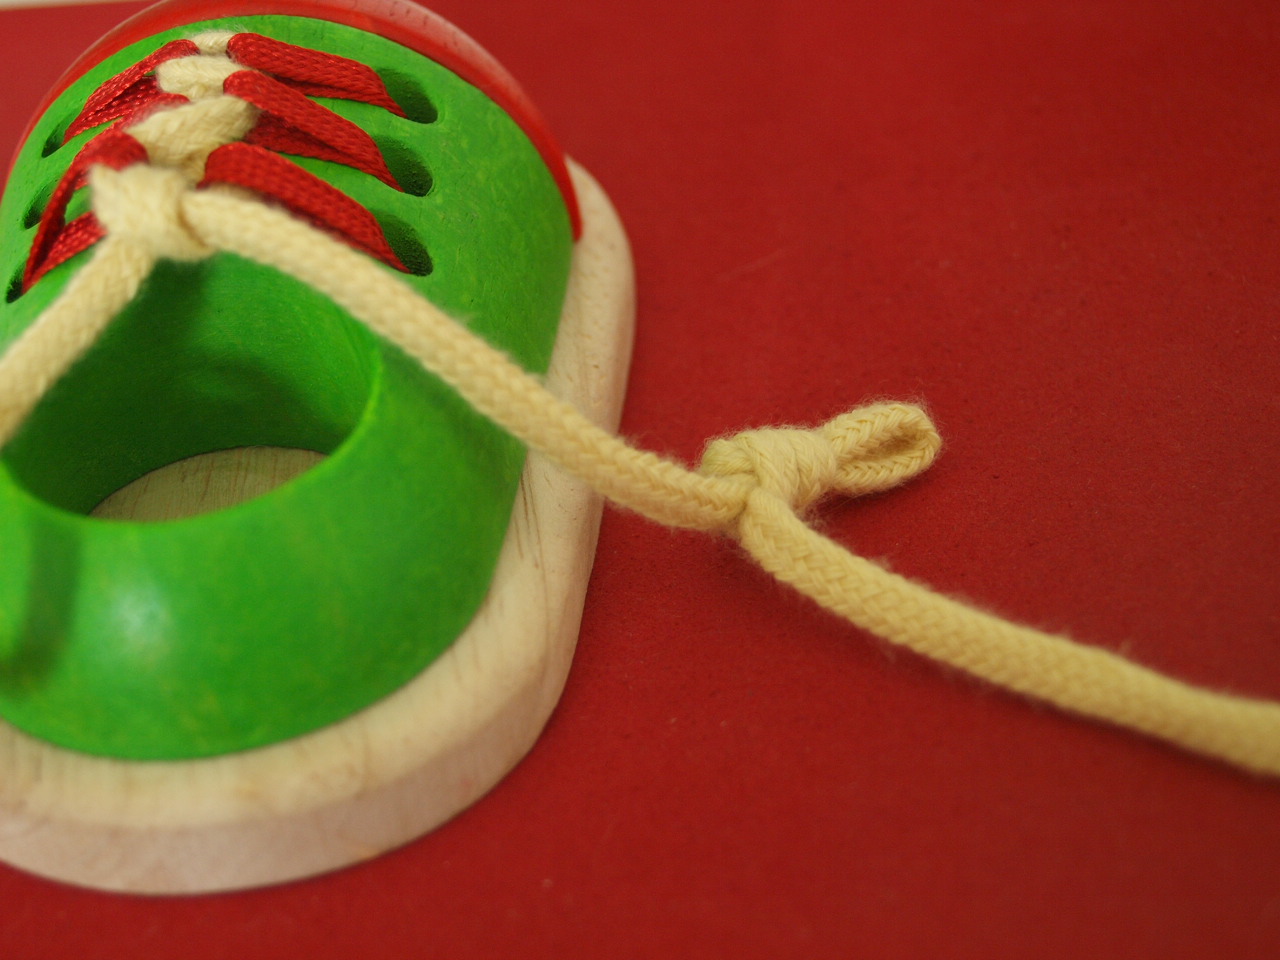
one-two, TIE my shoe

There are a lot of products designed to help kids learn to tie their shoes, like the Tie Buddies.
Here's my homemade shoe tying aid. If your kid can tie a knot - she can tie her shoes! Guaranteed. It works just like the Tie Buddies, but costs nothing.

Preparation. Make a simple loop knot in the middle of each shoe lace.


To tie the shoes
Step one: hold the shoe laces by the aglets (plastic or metal sheath at the end of the laces), tie a regular knot.

Step two: hold the laces just below the loop knots, tie a regular knot again. Congratulations! You just tied your shoes!


Please, leave a comment whether or not this worked for your child.


(photos by Mamalya)

Calendar

"I never tried this today" "Are we there yet?" "Is it tomorrow now?" Small kids have no sense of time. Presenting them with a visual calendars seems to help a lot.

We first started to make our calendars in December. There were simply too many things scheduled for little N. to keep track of: Birthday, Party (try to explain to a 4 yo why these two are not on the same day!), Holidays, School show, etc... So we made a Block calendar. We took a "post-it" block, counted out 31 pages. Then we helped N. to write the numbers on each page, and then we drew pictures that symbolized the event. It was a success. There were no more questions about "when" and "why not now". She also loved being in charge of the calendar, taking a leaf off every morning.

Now we do monthly calendars. With a space for a picture (either to color or to draw, depending on what we feel like). The order of the events and the idea of time are not the only things that kids learn when they make their own calendars. They can practice counting, writing, drawing or coloring; they learn days of the week and months. You can also count how many days are until the special event.

TIP:  For the younger kids, fill in some of the numbers and/or use a yellow highlighter to write the numbers for them to trace.

"Magic" for kids

This is a very simple project to do with your kids.
It's called "Thaumatrope". You can explain to the kids that this is how animation works, or you can just call it a "magic trick". Spinning the thaumatrope is a good exercise for little hands. It helps to improve a eye-hand coordination.

Print out the template or make your own design and follow the directions below.
You will need:
-Paper
-Pencil
-Glue or scotch tape.

1. Print out the template.

2. Cut out the circles. If your child is old enough to work with scissors, let her do that herself.

3. Align the circles back-to-back. Put it on the window or against the light to check that the butterflies are above the flower.

4. Glue the circles together.

5. Insert a pencil.

6. Use a piece of scotch tape to secure the pencil.

7. Hold it between your palms. "Grind" your palms again each other. And watch the new [combined] image appear as the thaumatrope spins.

Have fun!


(images by Mamalya)

Meaningful activities

I find it challenging to find "activities" for my child. I have to compete with her Montessori school. She does not want toys, she wants activities, preferably meaningful ones. Who wants to play pretend cooking when you can help make meatballs or pancake batter!?

So today I'll share a couple of activities we did with her last week. Our first activity was loop loom weaving. We went to a craft store and got a loop loom and a bag of loops. The cotton loops were too tight, we had to stretch them in order to make weaving easier. This was a fun activity per se.
She got an over-under-over-under pattern quickly and we made a potholder. Overall, it was a fun experience, and something a child could definitely do with little help or supervision. It's easy to keep the tension right comparing to a peg loom. I wonder if it is possible to weave using a string of yarn instead of the loops. We have a ton of old t-shirts that we are planning to cut into strips for future weaving projects. And I will make a peg loom just to have her try it.

Another activity repotting the violets. We bought two pots on our recent trip to IKEA for the violets that outgrew their small pots. So it was time for them to get new bigger ones. I did not even get a pot and a plant yet, when N. was already waiting for me armed with a plastic spade. She enjoyed scooping soil and putting it into the pot. Meanwhile we discussed the gardening plans for the summer. She asked if she could have a flower garden of her own. And I said "yes", because I remember my own "garden" (a 4 in wide strip of dirt alongside of the greenhouse in my grandparents' garden) and how fond and proud I was of it.

I prepped the plants, and potted them while N. ran and got our watering can and some water, then she carefully watered the flowers. She truly enjoyed the whole experience.

(images by Mamalya)

Making goo.

New goo. Blue goo. Gooey. Gooey. Blue goo. New goo. Gluey. Gluey.
[from "Fox in Socks" by Dr. Seuss]


We made a goo. Blue, because it's N.'s favorite color. Actually, we've made it a few months ago, but it is still alive and we still play with it.
It's rather simple.

Ingredients:
1 tsp of Borax
4oz of Elmers glue (PVA glue)
water
food coloring -optional

In the mixing bowl, mix glue and water 1:1. Stir well.
You can add a food coloring if you'd like. Keep in mind that it will stain your hands.
In the small cup mix borax and 1 cup of water. Mix until dissolved.
The following is better done with two people. Keep stirring glue, add borax solution, few drops at the time. You'll see how the glue is polymerizing. It will be harder and harder to stir the slime, keep mixing for as long as you can. [you will have some left over borax, never mind it] Let the mixture sit for a couple of minutes. Finish mixing by hand.

Have fun! Make balls, and feel the bounce; stretch it; make a snowman and see it "melt"...
Store the slime in a ziplock bag in the cool place. It's not toxic, but it's not edible.

PS: (if there's no Borax where you live, it's possible to make goo, using starch instead. The goo will have a slightly different feel. Use this recipe: 1/2 cup liquid starch
1/2 cup PVA glue. Mix starch and glue together until it feels like silly putty. Store in airtight container in the fridge. It should last a couple of weeks.)

(image: Mamalya)

Making sand cakes


Do your kids like to play in a sand box? Who am I kidding, I love sandboxes myself! We have a sand box outside filled with purple craft sand. But we can't use it when it's 37F and raining.

Once for a party we made enough InstaSnow to fill a large storage box. But it did not last and it was difficult to clean up. We tried Moon Sand, but it was very messy. We use play dough but I don't like the smell of it and I don't like the clean up part, especially if it gets on carpets. So we were on a lookout for something better...

Finally, at the Toy Fair, I found a perfect compound for an indoor sand box. It is called Bubber and it is made in Sweden by the same company that makes Moon Sand. Bubber is lightweight, non greasy, non sticky, non smelly and it never dries out. It's very easy to clean up from clothing and floors.

You can mold it; you can make bricks and build castles from them; you can take a cup and make sand cakes; you can compact it and then carve it. It's the perfect material for pint sized sculptors. (And it makes a good substitute for a stress ball.)

So, today we received a bag of neon green Bubber in the mail. The 24oz bag filled a 5 gallon Ikea Slugis box (21x13x6 in). We took some plastic knifes, scissors, molds and cups, and went on building things. We spent the whole evening by the sand box making green sand cakes.

(images: Mamalya)
 
Creative Commons License
Sestrenki by sestrenki.blogspot.com is licensed under a Creative Commons Attribution-Noncommercial-Share Alike 3.0 United States License