Showing posts with label montessori. Show all posts

World Travelers Club

We started the Club of a sort for small kids (5-8yo) recently. It is slightly more than a themed playdate.
Here's how the last one went. It was about Russia and Maslenitsa - Russian end of winter holiday.

The kids came over, and were redirected from going straight to the playroom by having several activities set up on the table.

There was the Museum of Russian Crafts featuring birch bark containers, Zhostovo tray, Khohloma spoon, etc.

Here are some of the activities we had to chose from. Note that even the small kids were able to do them with minimal help.
The coins are clued onto the cardboard with double-sided tape.
The flags are labeled "Russia" on the back, which indicates top and bottom.
Colored dots on the front show which color to use where.
Russian coins to look at.
There were also Matryoshka dolls to play with, and a picture of Matryoshka dolls to color (in different sizes: 1/2 page for the youngest and 1/4 page for the older ones).

When everyone was here, I gathered the kids up to play "puppies and kittens". You start by asking the kids which sound the puppies and kittens make. Then you tell each child which animal he is going to be (I had foam shapes, so I just let the kids pick out one). They all disperse and start making the sound of their animal. The goal is for the kittens/puppies to find other kittens/puppies and gather together.
If there are more kids or to make the game more challenging you can use more animals, so instead of finding another 4 kids of the same kind, each kid has to find his pair. These games teach kids to listen carefully, and to distinguish sounds in the noisy room.

Next we played another game, which teaches kids to talk with their eyes. You start by sitting the kids in a circle. And tell them that it is possible to talk with just their eyes, but they have to be very quite. You need to look at another person till your eyes meet. When they do, you both should smile, stand up, shake hands and change your seats. It is more challenging than it sounds. But it works miracles in calming kids down.

And so I had them all sitting in a circle beside me ready to look and listen. I had my globe and an iPad with some pictures. It was a time for a short presentation about Russia. I showed them where Russia is, that it takes two continents. That the (bigger) Eastern or Asian part of Russia is called Siberia. I find it's easier to hold the attention of the small kids if I focus on only one thing. So for Russia I chose to talk about the Lake Baikal, the legend of Shaman Rock, nerpa seals and log houses.
a very visual way to show just how much bigger Russia is than USA
As soon as I noticed the kids getting wiggly, I moved on to the "How do you say this in Russian?" Q&A. The kids also got a paper with their name written in Russian. They used a talking alphabet toy to "type" and sound out their names. For some reason people find Cyrillic fascinating.

Next there was a play break while we cleaned the table and got snacks ready: home made blini with jam and fruit, sushki (Russian-style pretzels). The braver adults were offered to try Kvass, but not too many went for it.

After lunch activity was bookmark making. There were letter stencils (both Roman and Cyrillic), stickers. One side of the bookmark had a child's name in English, another - in Russian.

Everyone seemed to have a great time. I made a resources and ideas page to send home. It has a list of web resources to help find more information about Russia, book & movies recommendations, craft ideas and such.

Calendar _September 2011

Here's the new fill-in calendar:
September 2011

Happy Back-to-school OR NOT-back-to-school, everyone.

We'll be homeschooling. Wish us luck! :-)

Chopsticks

When we were on vacation in San Diego earlier this month, we bought a pair of kids' chopsticks. They have special rings for the fingers, teaching kids the correct way to hold chopsticks. They come in Left or Right handed versions. Our daughter loves them. She tries to eat everything with them.

And it is supposed to be good for her small motor skills. ;-)

So, if you've ever seen kids chopsticks and wondered is they really work - they do.

Monte-LEGO (or LEGO-sori)

Kiddo did a huge progress in reading, so I decided we need to do a math activity for a change. And I had an epiphany: why not use LEGO bricks to make manipulatives. So, here you are: "Golden beads" activity made of LEGO single bricks. By the way, many non-Montessori schools use similar counting activities using math rods.

You need nine single units and nine 10-bars. You can also make a 100-square. (PS: The bricks are smooth and you can't feel where one ends and another begins, as with beads. So using the bricks of different colors makes it easier for a child to count them if she wants to check her answer.)

There are a lot of activities that you can do with them:
- counting. 1_2_3...9 (on single beads, then goes a 10-bar) 11_12... etc.
- count by 10.

- make up 2-digit numbers: first ask a child to make a number for you; when she's comfortable with that ask her to "read" a number you made. Then you can mix the rods with the decimal number cards to teach the child the formation of complex numbers and the matching quantity. These activities also form an impression of the hierarchy of numbers, place value, and the role of zero in determining place value.

- adding numbers without carrying over: for example here's how you do 11+12=?
make 11 (one 10-bar and one single bead) , make 12 next to it. Add 10-bars = two 10-bars = 20. Add single beads = three beads = 3. Make up the number = 23. This makes addition very concrete for small kids.
-same for subtraction.

-addition with carrying over is a bit more complex but it's also do-able. But I like using plain sticks for this.

Classic "practical life" activity


Our today's practical life activity was made possible by generous donation by Daddy. His old shirt's sleeves were cut into squares that we used for this classic two-part activity. First, we fringed the edges; Then we sew on some buttons.

These are self-explanatory, and you might still remember doing this in elementary school, so, I'll just write some tips.

- use woven fabric with low thread count. It will be more difficult to fringe the edges of the sateen vs linen, e.g.
- use embroidery hoop to support the fabric when sewing on buttons.
- use blunt end needle, like the ones that are used by knitters.
- start with the buttons that have 2 holes.
Draw the diagram for the 4-hole buttons combinations and help the child figure out the directions.

- to modify the activity for younger kids:
make buttons from heavy cardstock (cut the circles and use a hole-punch to make the holes) and use a sheet of plastic canvas for the fabric. Use thin shoe laces or a plastic needle with yarn to sew.

Cutting.


This is a simple "Practical Life" activity.
All you need is a letter opener and some envelopes (check your junk mail). First, glue them shut. Or have your child licking the glue strips - it's fun. Then cut them open. We only had a few enveloped today, so we had to cut the paper instead. It worked well, too.

December calendar template

Wow, is it December already!? Where did the year go?

If you came here looking for a calendar templates, this is your lucky day. Lots of snowflakes.
I promise to put some easy ideas for Holiday cards. We're working on them now.


Fill-in calendar December 2010

November calendar template

Here's the link to November template. Enjoy!


November 2010 fill-in calendar

October calendar template


Calendar Template

The monthly calendars became one of the favorite activities here. It gives kiddo a chance to practice counting and writing numbers (without her realizing the hidden agenda), and it gives her a chance to draw a picture and have it displayed on the fridge for a full month! It also helps her to get the concept of time. She does not need to ask "How many days till..." - now she just counts the days on the calendar. She can also figure out whether there is a school day or a weekend. See, I told you there's plenty of hidden agenda, yet she LOVES them.

So, for a few days she was reminding me that we need to print out a new calendar. And here it is. I finally figured out how to upload it somewhere, so you could also print out your own copy. Note that I only write the first and last day of the month, because I know that kiddo is capable of filling in the blanks. Add more numbers if your child is not yet comfortable writing all the numbers by himself.

What's that number?

Little N., who is 4.5yo, can count from 1 to 100, she understands the value of the numbers (like 10 is less than 100), she also knows the names of 100s (one hundred, two hundred, etc); what she can't do is count by 1 from 100 on (101-102-103, etc) or to name the 3-digit numbers (123 is not called "one-two-three"). So, to help her learn that I've made a home version of Montessori Decimal Cards. You can buy them for $20 plus shipping, but the fact is, that for many activities you need more than one set, and then it becomes too expensive.

I've printed out mine on a regular paper for now before I get the time to make the cards from the Sturdy Board. You can also either glue the print-out onto the card stock, or laminate it.

Before you begin, make sure that your child can name all the 100s, 10s and single digit numbers. Or use the cards to teach her what they are called. This is a first step. You can use the decimal cards in many ways, but I'll only tell you about one "game" today. It's primary purpose it to help the child figure out the concept of naming 3-digit numbers.

He's how you do it. First, show the cards to the child. Ask her to name them. Start with ones, then do tens and hundreds. If she gets bored quickly, then randomly draw some cards out and ask her to name them.

Next tell her that you are going to make some numbers and learn how to name them. The numbers on the cards are color coded (all the 100s are red for example, and 10s are blue). Take one of the 10s card [50, e.g.], put it down and say [50]. Then take a single digit one [4 e.g], put it on top of the 10s card so it covers the 0 [say "4"]. Say [54]. Now ask your child to make and name a 2-digit number.

Now do the same thing but using the 100s, 10s and 1s. If your child says 2 instead of 200, take the top cards off and show her the bottom card. Say: "this card is called 200, not 2. You should say the name of this card". Do groups of numbers like 101, 110 and 111 (pattern wise). Note that the numbers like 213, 314 (the ones that have teens in them) might be more difficult to decode.

Don't forget to praise your child's efforts. Practice this game a few times, and you'll be amazed how quick she'll learn it.

The video of little N. calling out the numbers is coming soon. And also the template so you could make your own set.

Proper pencil grip in 3 easy steps

Teaching a child to hold a pencil correctly is important, and since you've landed here, you probably know that. This is the easiest way I've found so far. I did not invent it, I saw it in a japanese activity book for kids. Below are the pictures of me demonstrating the 3 easy steps. It works equally will for lefties.


If you're looking for more handwriting tools, I recommend checking out Handwriting without tears workbooks or for smaller kids getting one of the Grasshopper kits. Check out my earlier post on them here: "getting small hands ready for school".

Propellers

Flying PropellersWe went to a science museum this weekend, and we bought a simple toy at the gift shop. It basically is a propeller on a stick. To launch it (note that the propeller stays ON the stick, it does not fly off), hold the stick between the palms of your hands. Quickly slide your right hand forward while keeping it pressed against the left hand.

Aside from being a fun toy to watch flying or to try to catch, it is a good practice for hand-eye coordination. You can buy it on Amazon.

Printable calendar template

It's May, and it's time for a new calendar. We have a little tradition: we print out a monthly calendar, our daughter draws a picture and writes in the numbers. Then we put it on the fridge, and every day she makes sure to move a magnet to the right date. You can read more about it in the earlier post.

You can see that I wrote some of the dates, this is what is called "control of error", it allows a child to do the work independently (fill in the blanks), and to be able to check whether or not the numbers are in order. Depending on where your child is, you can write in as many numbers as needed. Filling in the blank spaces with flowers also gives a child a signal that they need to stop. You know that a 4yo will keep writing 32-33-34-etc. until she runs out of paper.

If you'd like, you can download my template to use at home. I'm not sure how I can "attach" a pdf, so the template is in jpg for now.

Jacket flip

First of all, thank you to everybody for stopping by.

After I wrote about the shoe tying trick, I've realized that I've never posted the "jacket flip" that both girls used to do before they learned to put their coats on the traditional way. The jacket flip is taught at Montessori schools and some daycare centers. It works best on kids from 1 to 3 years old.


a) lay the jacket on the floor with the collar at the child's feet.
b) put the arms into the sleeves.
c) raise the arms up, over your head and then down [as if drawing a circle in the air]. 
done.

Small kids usually want to do things by themselves but we, parents, rarely have an opportunity to give them the time they need to do so. They need to practice a particular skill over and over until it's mastered and they can put that jacket on fast enough so we don't rush to put it on for them in the morning. As with academic skills, it is important to give kids an opportunity to learn to care for themselves. Teach them to dress themselves; let them help to set the table, get their own snack, etc. Not only does this help to boost their self confidence and sense of independence, but it also trains their motor skills; it teaches order of events; patience, etc. Incorporate this little activities into your routine. Ultimately, this also make your life a bit easier.

(photos by Mamalya)

one-two, TIE my shoe

There are a lot of products designed to help kids learn to tie their shoes, like the Tie Buddies.
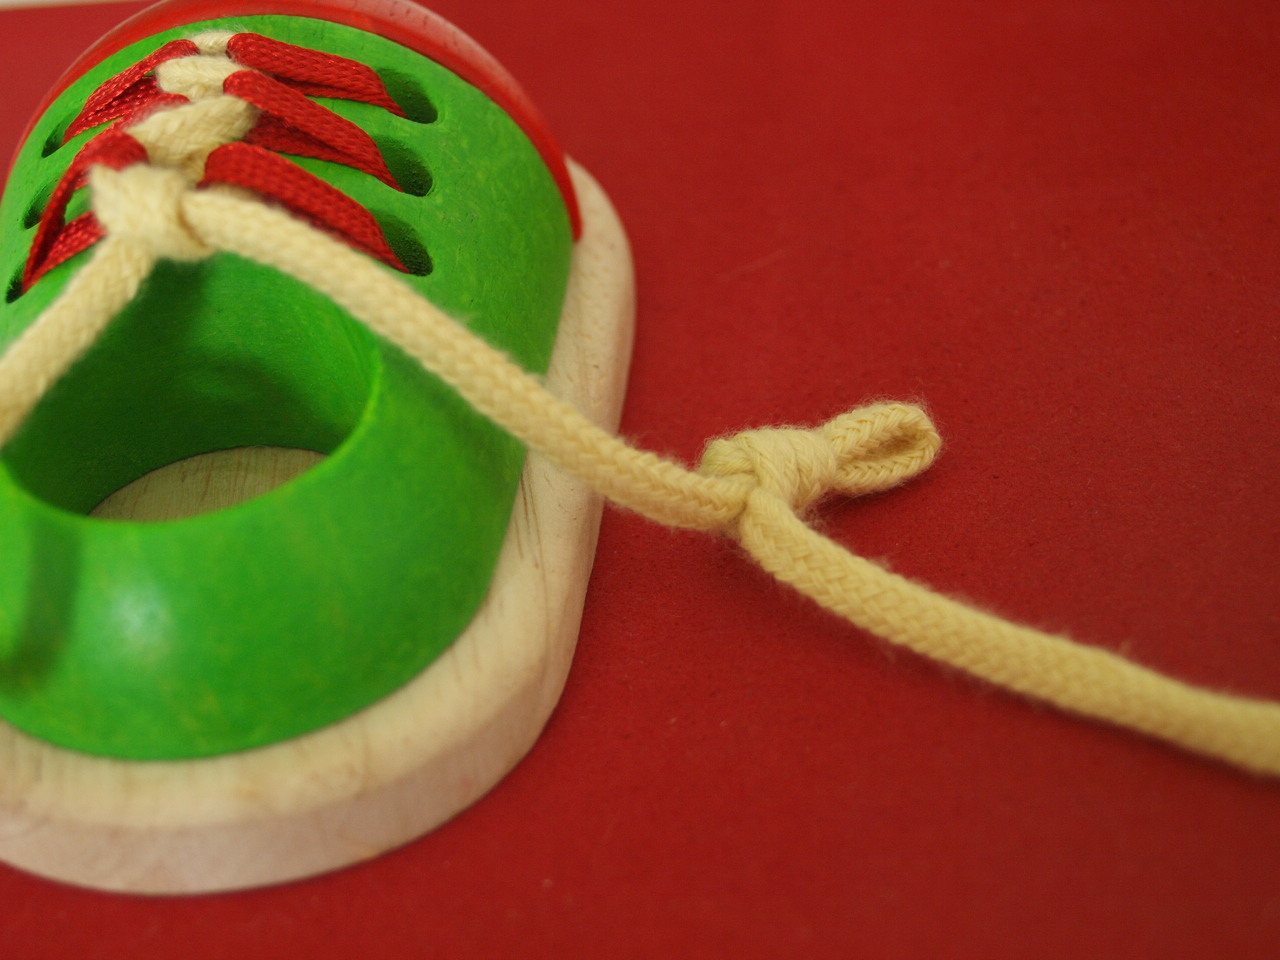
Here's my homemade shoe tying aid. If your kid can tie a knot - she can tie her shoes! Guaranteed. It works just like the Tie Buddies, but costs nothing.

Preparation. Make a simple loop knot in the middle of each shoe lace.


To tie the shoes
Step one: hold the shoe laces by the aglets (plastic or metal sheath at the end of the laces), tie a regular knot.

Step two: hold the laces just below the loop knots, tie a regular knot again. Congratulations! You just tied your shoes!


Please, leave a comment whether or not this worked for your child.


(photos by Mamalya)

Calendar

"I never tried this today" "Are we there yet?" "Is it tomorrow now?" Small kids have no sense of time. Presenting them with a visual calendars seems to help a lot.

We first started to make our calendars in December. There were simply too many things scheduled for little N. to keep track of: Birthday, Party (try to explain to a 4 yo why these two are not on the same day!), Holidays, School show, etc... So we made a Block calendar. We took a "post-it" block, counted out 31 pages. Then we helped N. to write the numbers on each page, and then we drew pictures that symbolized the event. It was a success. There were no more questions about "when" and "why not now". She also loved being in charge of the calendar, taking a leaf off every morning.

Now we do monthly calendars. With a space for a picture (either to color or to draw, depending on what we feel like). The order of the events and the idea of time are not the only things that kids learn when they make their own calendars. They can practice counting, writing, drawing or coloring; they learn days of the week and months. You can also count how many days are until the special event.

TIP:  For the younger kids, fill in some of the numbers and/or use a yellow highlighter to write the numbers for them to trace.

Meaningful activities

I find it challenging to find "activities" for my child. I have to compete with her Montessori school. She does not want toys, she wants activities, preferably meaningful ones. Who wants to play pretend cooking when you can help make meatballs or pancake batter!?

So today I'll share a couple of activities we did with her last week. Our first activity was loop loom weaving. We went to a craft store and got a loop loom and a bag of loops. The cotton loops were too tight, we had to stretch them in order to make weaving easier. This was a fun activity per se.
She got an over-under-over-under pattern quickly and we made a potholder. Overall, it was a fun experience, and something a child could definitely do with little help or supervision. It's easy to keep the tension right comparing to a peg loom. I wonder if it is possible to weave using a string of yarn instead of the loops. We have a ton of old t-shirts that we are planning to cut into strips for future weaving projects. And I will make a peg loom just to have her try it.

Another activity repotting the violets. We bought two pots on our recent trip to IKEA for the violets that outgrew their small pots. So it was time for them to get new bigger ones. I did not even get a pot and a plant yet, when N. was already waiting for me armed with a plastic spade. She enjoyed scooping soil and putting it into the pot. Meanwhile we discussed the gardening plans for the summer. She asked if she could have a flower garden of her own. And I said "yes", because I remember my own "garden" (a 4 in wide strip of dirt alongside of the greenhouse in my grandparents' garden) and how fond and proud I was of it.

I prepped the plants, and potted them while N. ran and got our watering can and some water, then she carefully watered the flowers. She truly enjoyed the whole experience.

(images by Mamalya)
 
Creative Commons License
Sestrenki by sestrenki.blogspot.com is licensed under a Creative Commons Attribution-Noncommercial-Share Alike 3.0 United States License