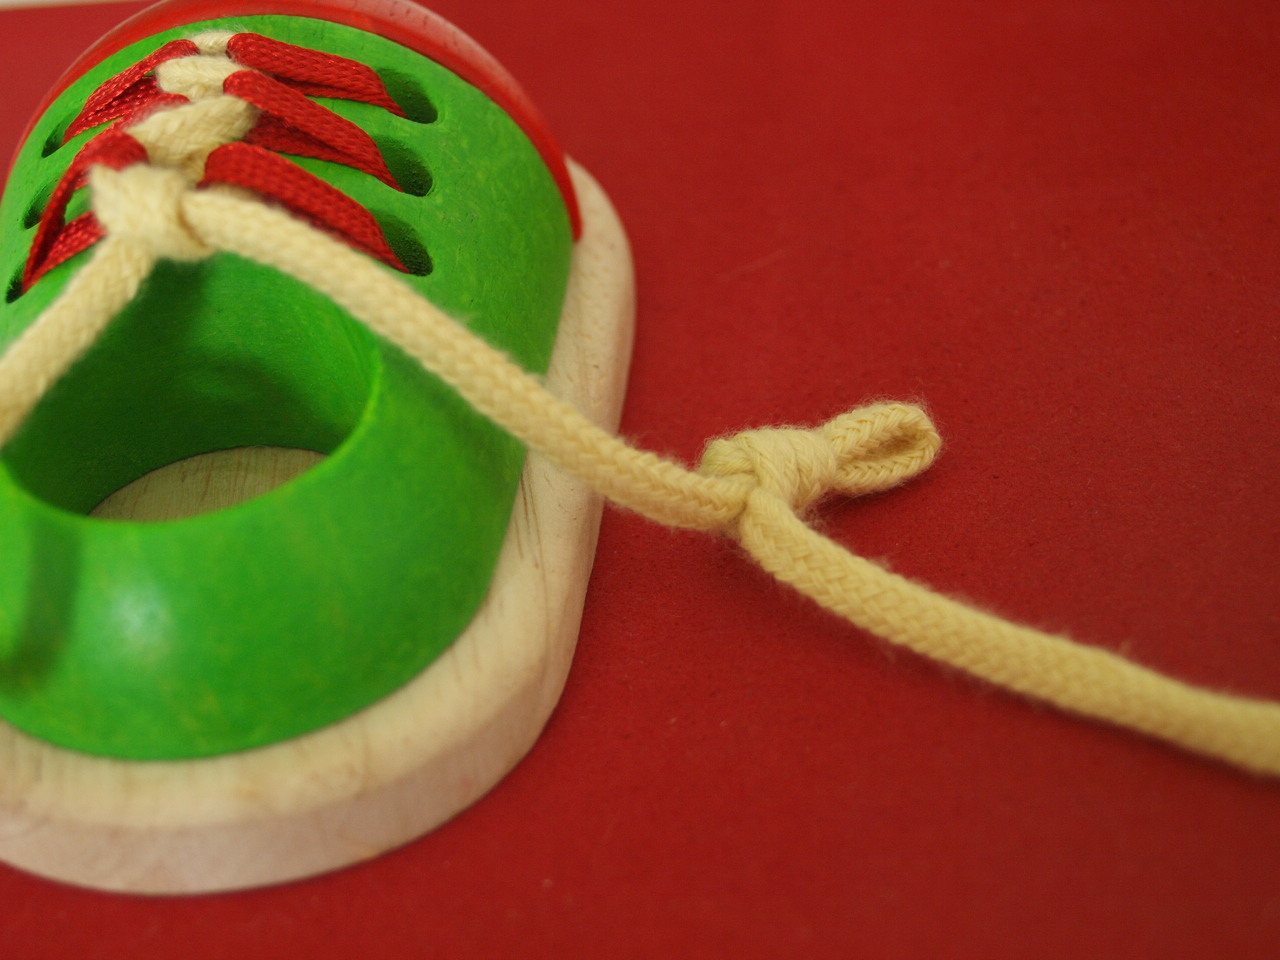
Showing posts with label practical life. Show all posts

Chopsticks

When we were on vacation in San Diego earlier this month, we bought a pair of kids' chopsticks. They have special rings for the fingers, teaching kids the correct way to hold chopsticks. They come in Left or Right handed versions. Our daughter loves them. She tries to eat everything with them.

And it is supposed to be good for her small motor skills. ;-)

So, if you've ever seen kids chopsticks and wondered is they really work - they do.

Classic "practical life" activity


Our today's practical life activity was made possible by generous donation by Daddy. His old shirt's sleeves were cut into squares that we used for this classic two-part activity. First, we fringed the edges; Then we sew on some buttons.

These are self-explanatory, and you might still remember doing this in elementary school, so, I'll just write some tips.

- use woven fabric with low thread count. It will be more difficult to fringe the edges of the sateen vs linen, e.g.
- use embroidery hoop to support the fabric when sewing on buttons.
- use blunt end needle, like the ones that are used by knitters.
- start with the buttons that have 2 holes.
Draw the diagram for the 4-hole buttons combinations and help the child figure out the directions.

- to modify the activity for younger kids:
make buttons from heavy cardstock (cut the circles and use a hole-punch to make the holes) and use a sheet of plastic canvas for the fabric. Use thin shoe laces or a plastic needle with yarn to sew.

homemade plant-me paper

We got a little seed infused plant-me card recently, and it gave me an idea that it should be easy to make them from scratch at home. You just need to make paper and add seeds into it. Easy-peasy!

I have a Paper recycling kit, that I bought a few years ago on clearance. But any old blender or mixer will suffice. I may want to purchase a cheap one at the garage sale or a thrift store as it's not a good idea to use a blender you use to make your smoothies. If you are using a paper making kit - use the tools and follow the directions that came with it. But you can also make your own frame by attaching fine mesh (like window screens) to a wooden frame.

Get your ingredients. I once make paper from dryer lint. It worked! Lint paper is very soft, felt-like and would disintegrate as soon as you get it moist. But for plant-me cards I want sturdier paper. So, I got some napkins and a handful of shredded paper. You can also use construction paper, egg cartons, newspapers - most any kind of paper, other than glossy magazines. You need to cut it into small bits, or use a shredder.
Theoretically, torn paper is better as it absorbs water faster, but shredded paper worked very well for us. As for the seeds, any small flat seeds will work fine.

Make pulp. Next put your paper bits into a bowl of hot water and leave to soak for several hours or overnight. Use a blender to puree the wet paper.

Gather pulp onto the screen. Pour the paper pulp into a tub. Slip the frame into the tub and gather a nice layer of pulp. We wanted to make thicker paper, and the result was a paper that was almost as thick and sturdy as an egg carton.

Add seeds. While the frame is still in the water, sprinkle the seeds on top of it, tap them in gently. You could have added the seeds to the pulp before pouring the mixture into the tub. We used very small seeds -Black-eyed Susan- and it was easier to sprinkle them over the paper. Also, no seeds get wasted this way.

"Wring" and dry the paper. Lift the frame up. Let it drip. Put a washcloth over the frame (or flip the frame over onto the dishtowel, whichever is easier for you). Using a sponge, gently press out as much water as you can. Peel the paper sheet off the frame and off the towel, put it on the paper towels. Let it dry undisturbed for 12-24 hr. And you can reuse or recycle these towels later.
We found that drying it on the paper towel gives you a flatter paper vs hanging it to dry.

Now you can cut your new paper into shapes, make cards using it. And don't forget to include the planting instructions before you give them to your friends.

Cutting.


This is a simple "Practical Life" activity.
All you need is a letter opener and some envelopes (check your junk mail). First, glue them shut. Or have your child licking the glue strips - it's fun. Then cut them open. We only had a few enveloped today, so we had to cut the paper instead. It worked well, too.

Jacket flip

First of all, thank you to everybody for stopping by.

After I wrote about the shoe tying trick, I've realized that I've never posted the "jacket flip" that both girls used to do before they learned to put their coats on the traditional way. The jacket flip is taught at Montessori schools and some daycare centers. It works best on kids from 1 to 3 years old.


a) lay the jacket on the floor with the collar at the child's feet.
b) put the arms into the sleeves.
c) raise the arms up, over your head and then down [as if drawing a circle in the air]. 
done.

Small kids usually want to do things by themselves but we, parents, rarely have an opportunity to give them the time they need to do so. They need to practice a particular skill over and over until it's mastered and they can put that jacket on fast enough so we don't rush to put it on for them in the morning. As with academic skills, it is important to give kids an opportunity to learn to care for themselves. Teach them to dress themselves; let them help to set the table, get their own snack, etc. Not only does this help to boost their self confidence and sense of independence, but it also trains their motor skills; it teaches order of events; patience, etc. Incorporate this little activities into your routine. Ultimately, this also make your life a bit easier.

(photos by Mamalya)

one-two, TIE my shoe

There are a lot of products designed to help kids learn to tie their shoes, like the Tie Buddies.
Here's my homemade shoe tying aid. If your kid can tie a knot - she can tie her shoes! Guaranteed. It works just like the Tie Buddies, but costs nothing.

Preparation. Make a simple loop knot in the middle of each shoe lace.


To tie the shoes
Step one: hold the shoe laces by the aglets (plastic or metal sheath at the end of the laces), tie a regular knot.

Step two: hold the laces just below the loop knots, tie a regular knot again. Congratulations! You just tied your shoes!


Please, leave a comment whether or not this worked for your child.


(photos by Mamalya)

 
Creative Commons License
Sestrenki by sestrenki.blogspot.com is licensed under a Creative Commons Attribution-Noncommercial-Share Alike 3.0 United States License